
Kombucha is one of those things that has really taken over the health industry and with good reason. It’s full of antioxidants, probiotics which help keep your guts health AF but also help with immunity, energy and general wellbeing. Plus it tastes hella good – the only problem is that buying kombucha is kinda spenno, with a litre in Australia costing upwards of $8. If you drink as much booch as I do, that adds up pretty damn quick!
If you’re like me, you love the booch but don’t love the freaking huge price tag that can come along with it. That’s why about a year ago I started making my own kombucha and I’ve never looked back.
With a few basic ingredients, simple equipment and a bit of patience, you too could be making your very own kombucha. It takes less than an hour of prep time a week and with the ability to flavour it yourself, you can make it to your suit your own personal taste!
Follow my steps below to get the perfect batch of booch every time.
Step 1 – Gather Your Equipment
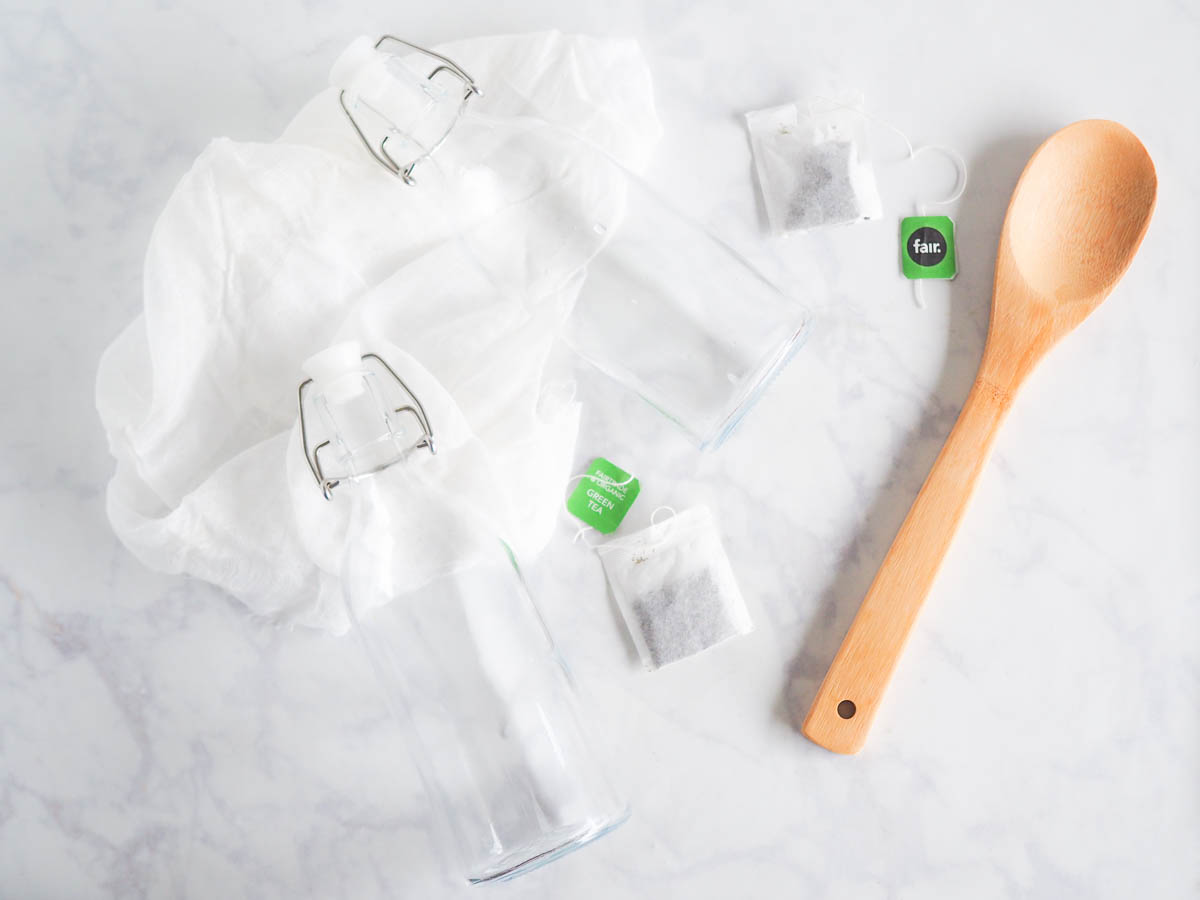
Before you get to fermentin’ you’re gonna need to pick up a few bits and pieces to make it happen.
- Large stockpot
- Wooden spoon
- Large glass vessel (I use one with a tap)
- Muslin or cheesecloth
- Rubber band
- Swing top glass bottles
- Funnel
Step 2 – Gather Your Ingredients for the First Ferment
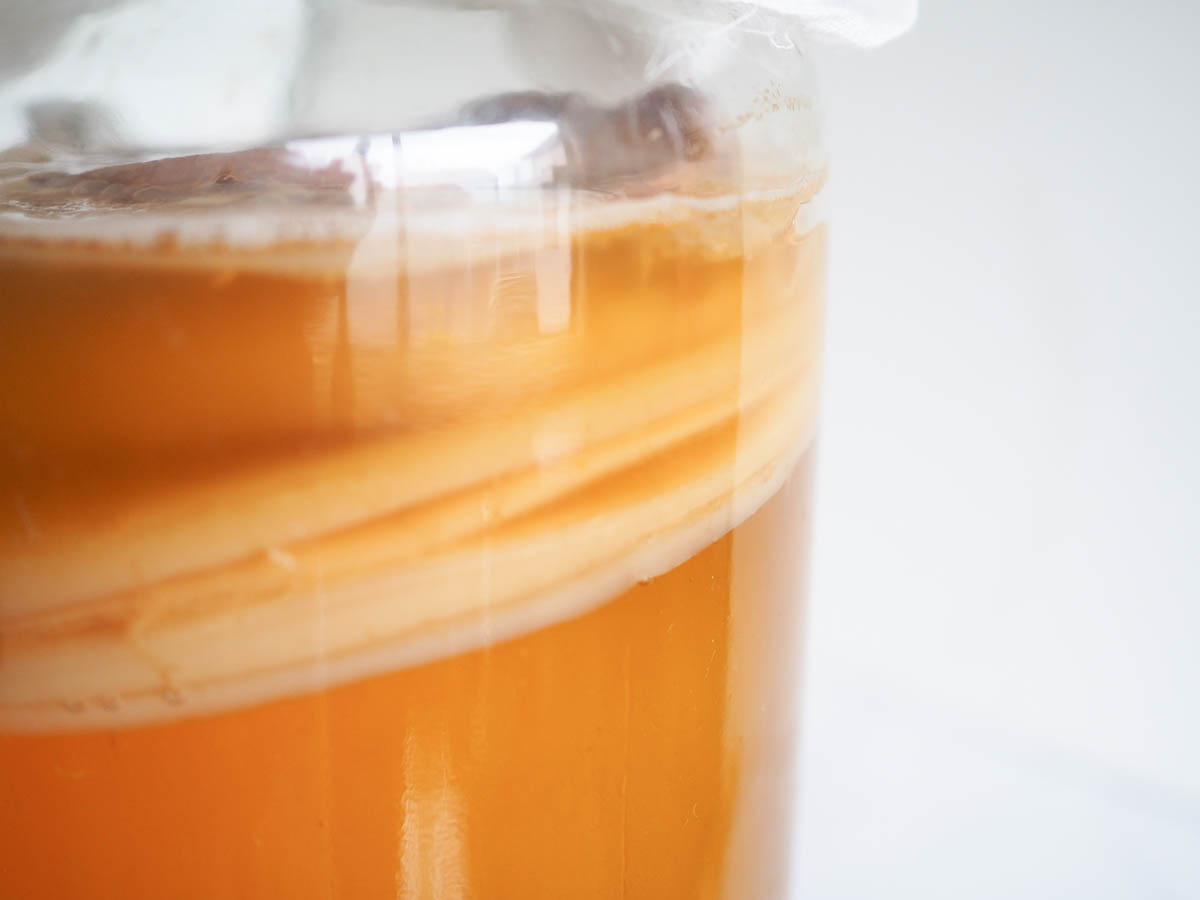
First things first, you’re gonna need a symbiotic colony of bacteria and yeast or, as it’s more commonly known, a scoby (sounds yummy, right?) This alien looking gelatinous disc is the key to realising your kombucha dreams so if you’ve got a pal whose already on the kombucha-making bandwagon, hit em up or hop online and buy one.
Your scoby should come with its very own quantity of starter tea, which is also essential to get your booch going and growing. Each time you make a batch of booch, you’ll save a little starter tea to get the next batch started so it lives on forever – kinda like a sourdough starter!
Now that you’ve got the tricky part out of the way, gather up the following:
- 4 litres of water
- 1 cup white sugar
- 8 tea bags (green, black or white)
Step 3 – Brew Your Tea
Chuck the water in the stockpot and bring to the boil before stirring in the sugar until dissolved. Remove from the heat and add the teabags – I like to tie mine to the handle of the wooden spoon and lay it across the top so they’re neat and tidy.
Allow the tea to steep for 20 minutes or so before removing and discarding the teabags. Then leave the tea to cool COMPLETELY (this is very important – hot tea will kill your scoby)
Step 4 – The First Ferment
Pop your scoby and starter tea in your large glass vessel and gently pour in your cooled tea. Cover the top of your jar with the muslin or cheesecloth and secure with a rubber band.
Put the jar in a cool place, out of the way and leave it alone for at least 7 days (more if you want it super vinegary). You will probably notice another layer of scoby forming on top of the liquid, this means it’s working and you can eventually pass pieces of scoby onto a friend!
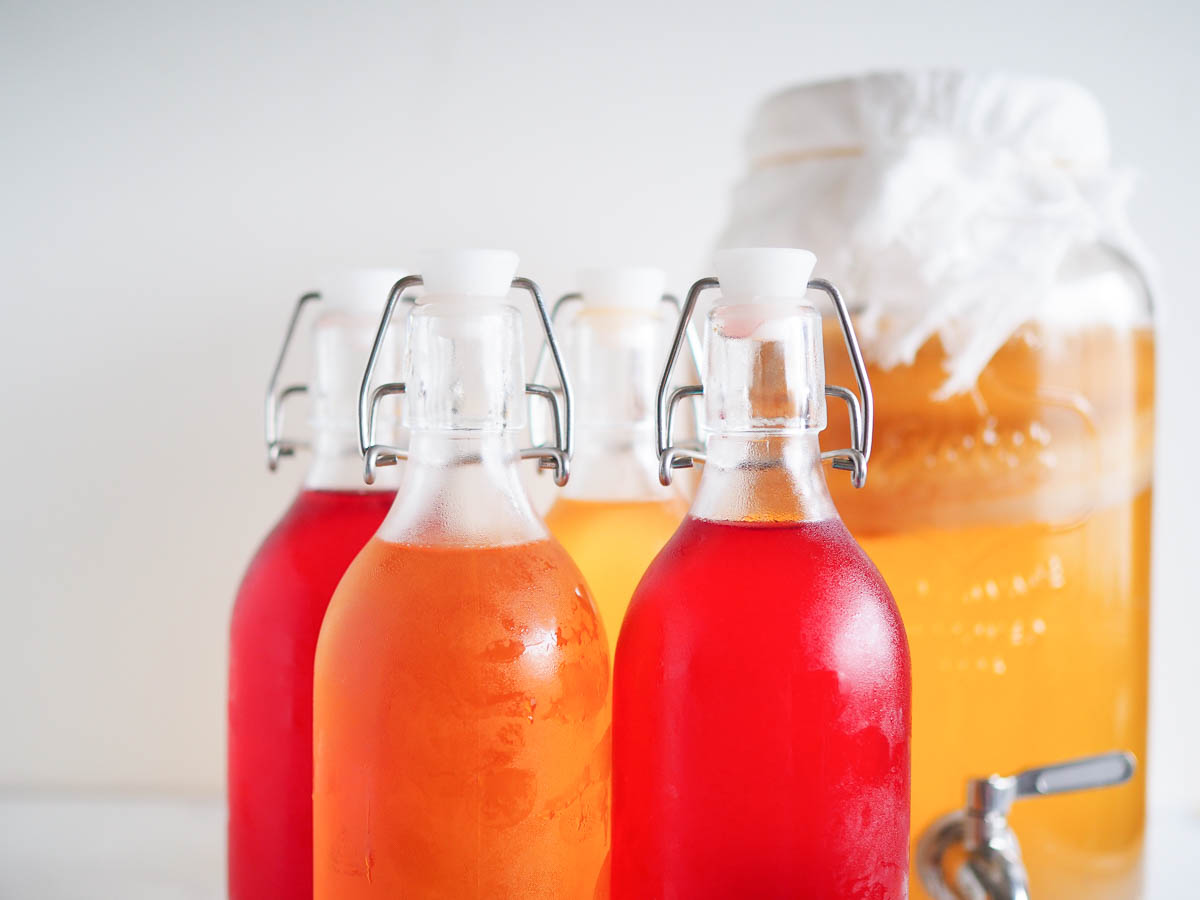
Step 5 – The Second Ferment
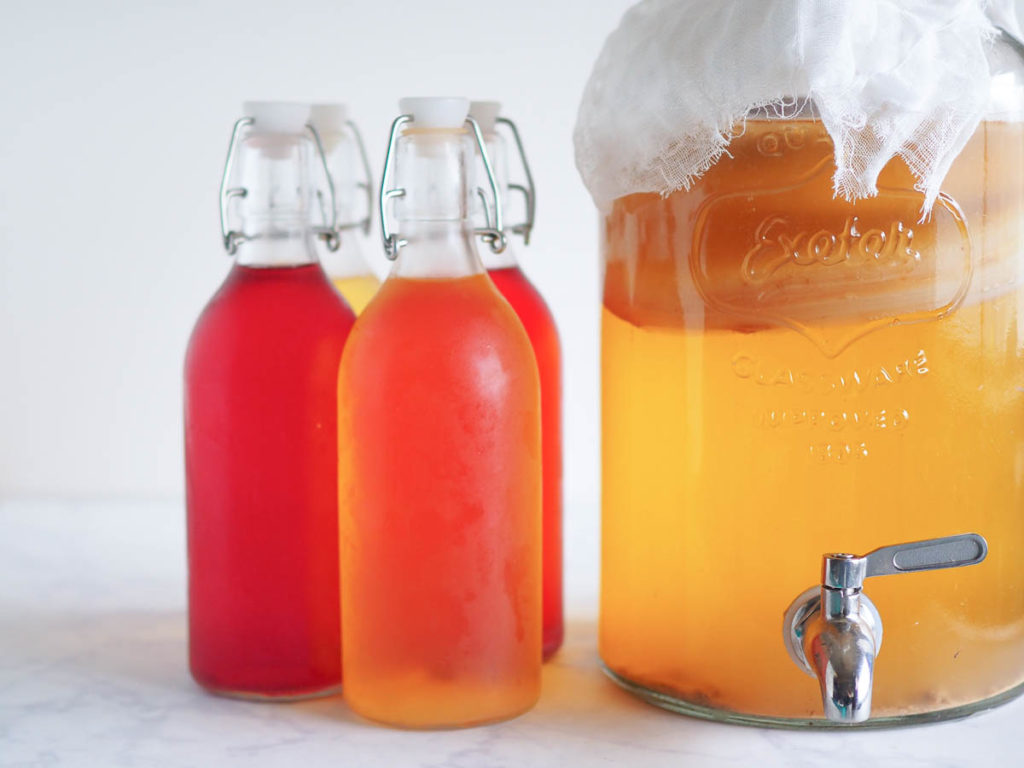
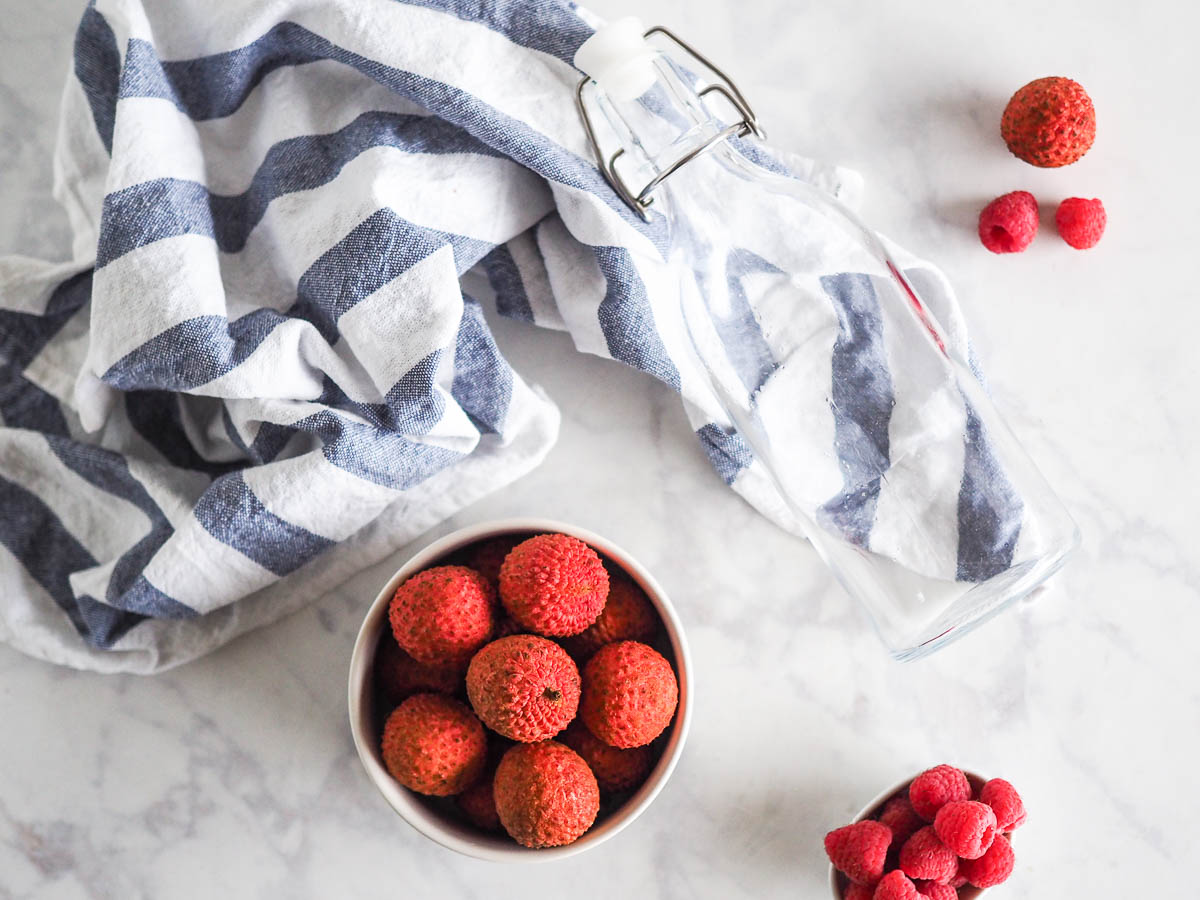
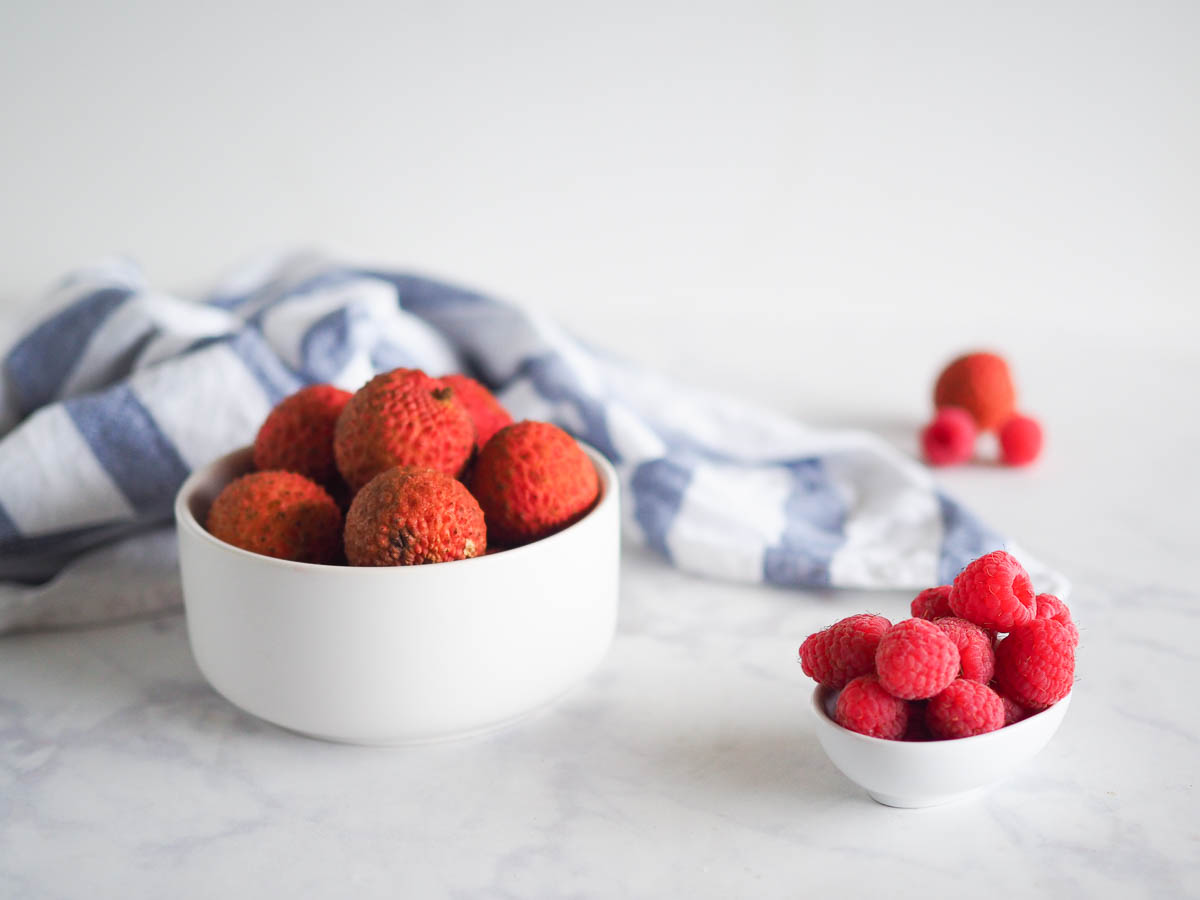
This is my fave part because it’s where we add the flavour! The cultures in kombucha feed on sugar so it’s important to use fruit flavours in your second ferment to make it fizzy. As a rough guide, I fill my bottles about 1/5 of the way with fruit or cold pressed juice. Fresh fruit works best but you will have to strain the chunks out later (which is kinda gross). Even though a lot of people say it doesn’t work, I’ve had pretty good success using cold pressed juices too plus it leaves no chunks. Why not try some of these flavour combinations:
- Watermelon + mint
- Raspberry
- Blueberry
- Apple + ginger
- Pomegranate
- Pineapple
Add your flavour to the bottles and use the funnel to fill the bottle nearly to the top with kombucha (make sure you leave enough starter tea for the next batch (about 2 cups). Seal up the bottles and pop them aside for another 5-7 days. At this stage I usually head back to Step 2 so I’ve gotta a steady supply of booch!
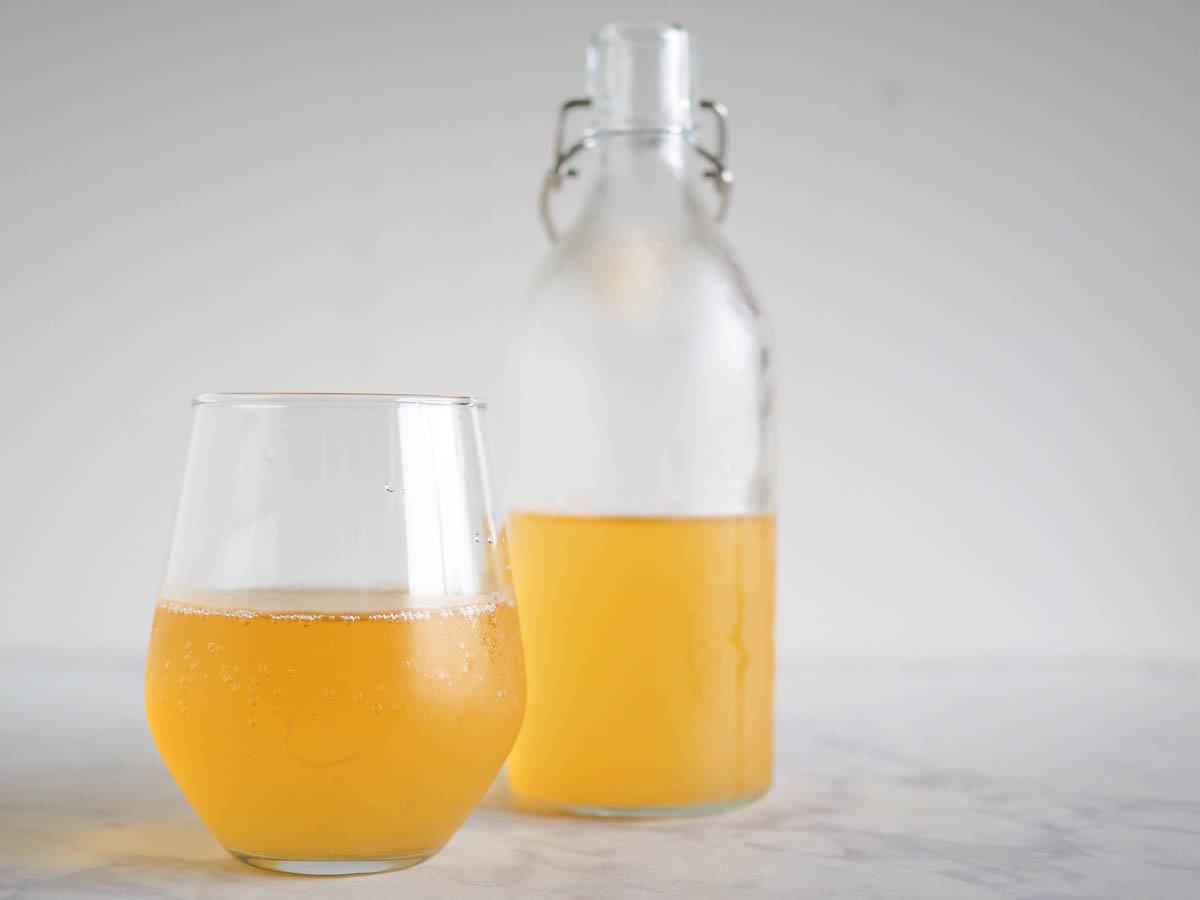
Step 6 – The Final Phase
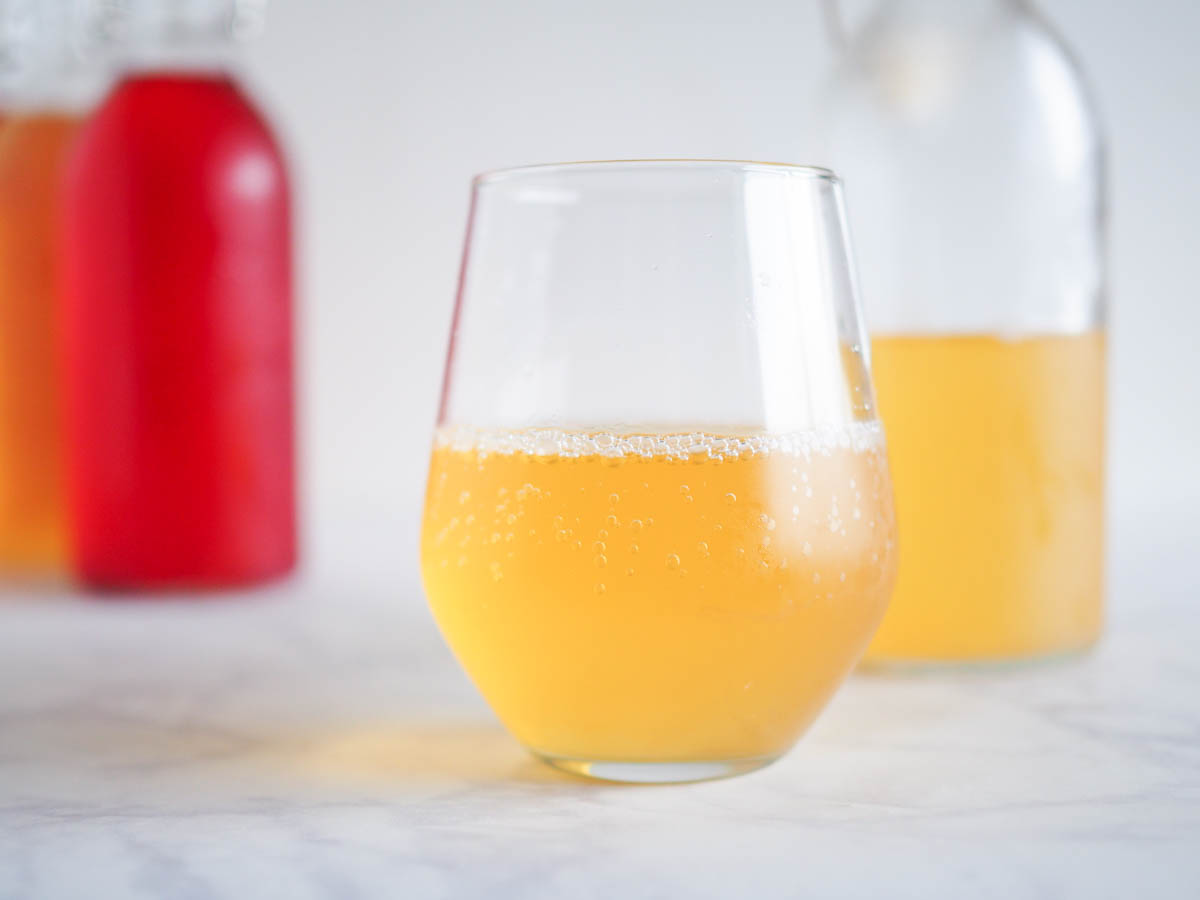
Pop the bottles in the fridge to stop the fermentation process from and enjoy getting your kombucha fix on the reg without the huge price tag!


Exactly what i have been looking for, thank you so much, so informative.