Price: From $12.50AUD
Where to Buy: www.kilner.co.uk for stockists
For the longest time I had dreamed about how organised my future kitchen would be and when I bought my house last year, it took a little bit of time to reconcile my love of organisation with my love of doing nothing (also known as laziness). Luckily, my friends at Kilner hooked your girl up with some bits and pieces to help me get my shit together and, in turn, help you achieve your pantry goals too!
Not only is setting pantry goals about making stuff look dope, it’s also about keeping your food fresh, keeping it organised and a great way of reducing packaging waste by buying in bulk. You’ve seen those Insta-perfect shots of organised pantries but where do you even start? I got you, fam. Just keep readin’!
Step 1. Pick The Right Vessel (and get more than you need!)
You may think that jars are just jars but I’m here to tell ya, you’re thinking is all wrong. Some jars/containers look great but don’t provide an airtight seal, while others can do the job but look like complete trash in your pantry. I’ve tried a fair few jars in my kitchen and can confirm that my Kilner jars provide both style and substance when it comes to looking fly and keeping food fresh af.
The added bonus with Kilner jars is that they are made tough (since bloody 1840!) which means that they can also withstand preserving and fermenting – they’re not just a pretty face like many others, so it’s worth investing in the good stuff.
Step 2. Get the Right Fit
I reckon since embarking on this pantry organisation journey, I’ve become pretty damned good at guessing volume. My top tip for picking the right jar for the right ingredient is choosing a size that will store everything you need, while leaving some space to top up – you don’t want to end up having to keep additional stuff stored elsewhere because you couldn’t fit it in the main jar.
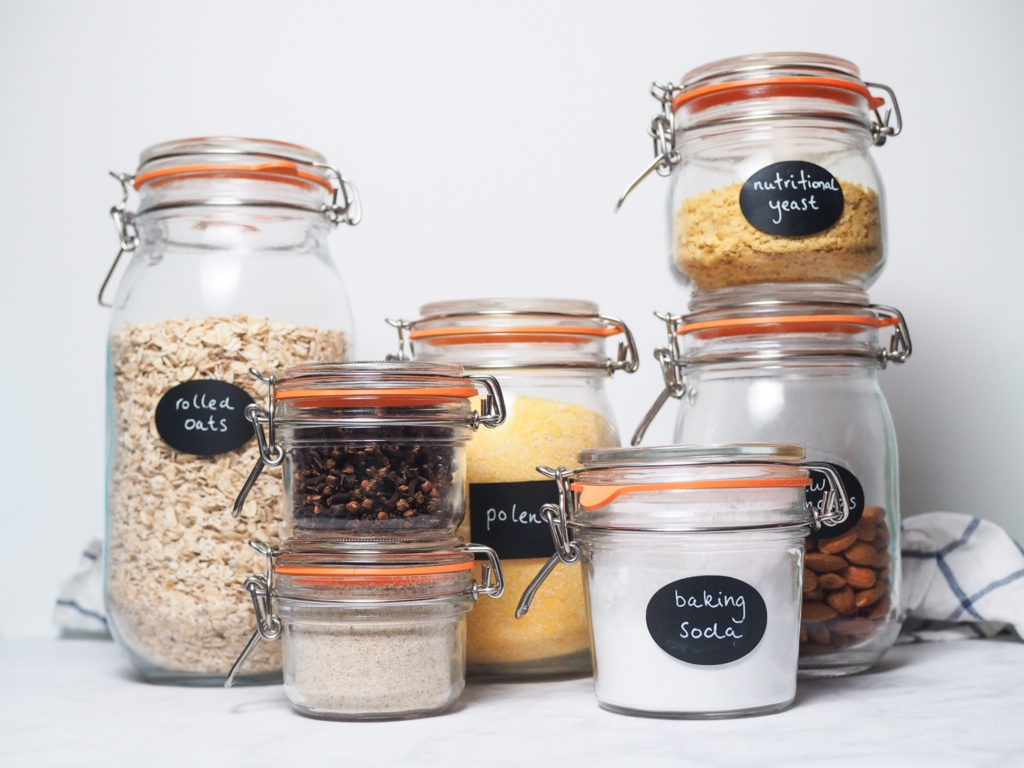
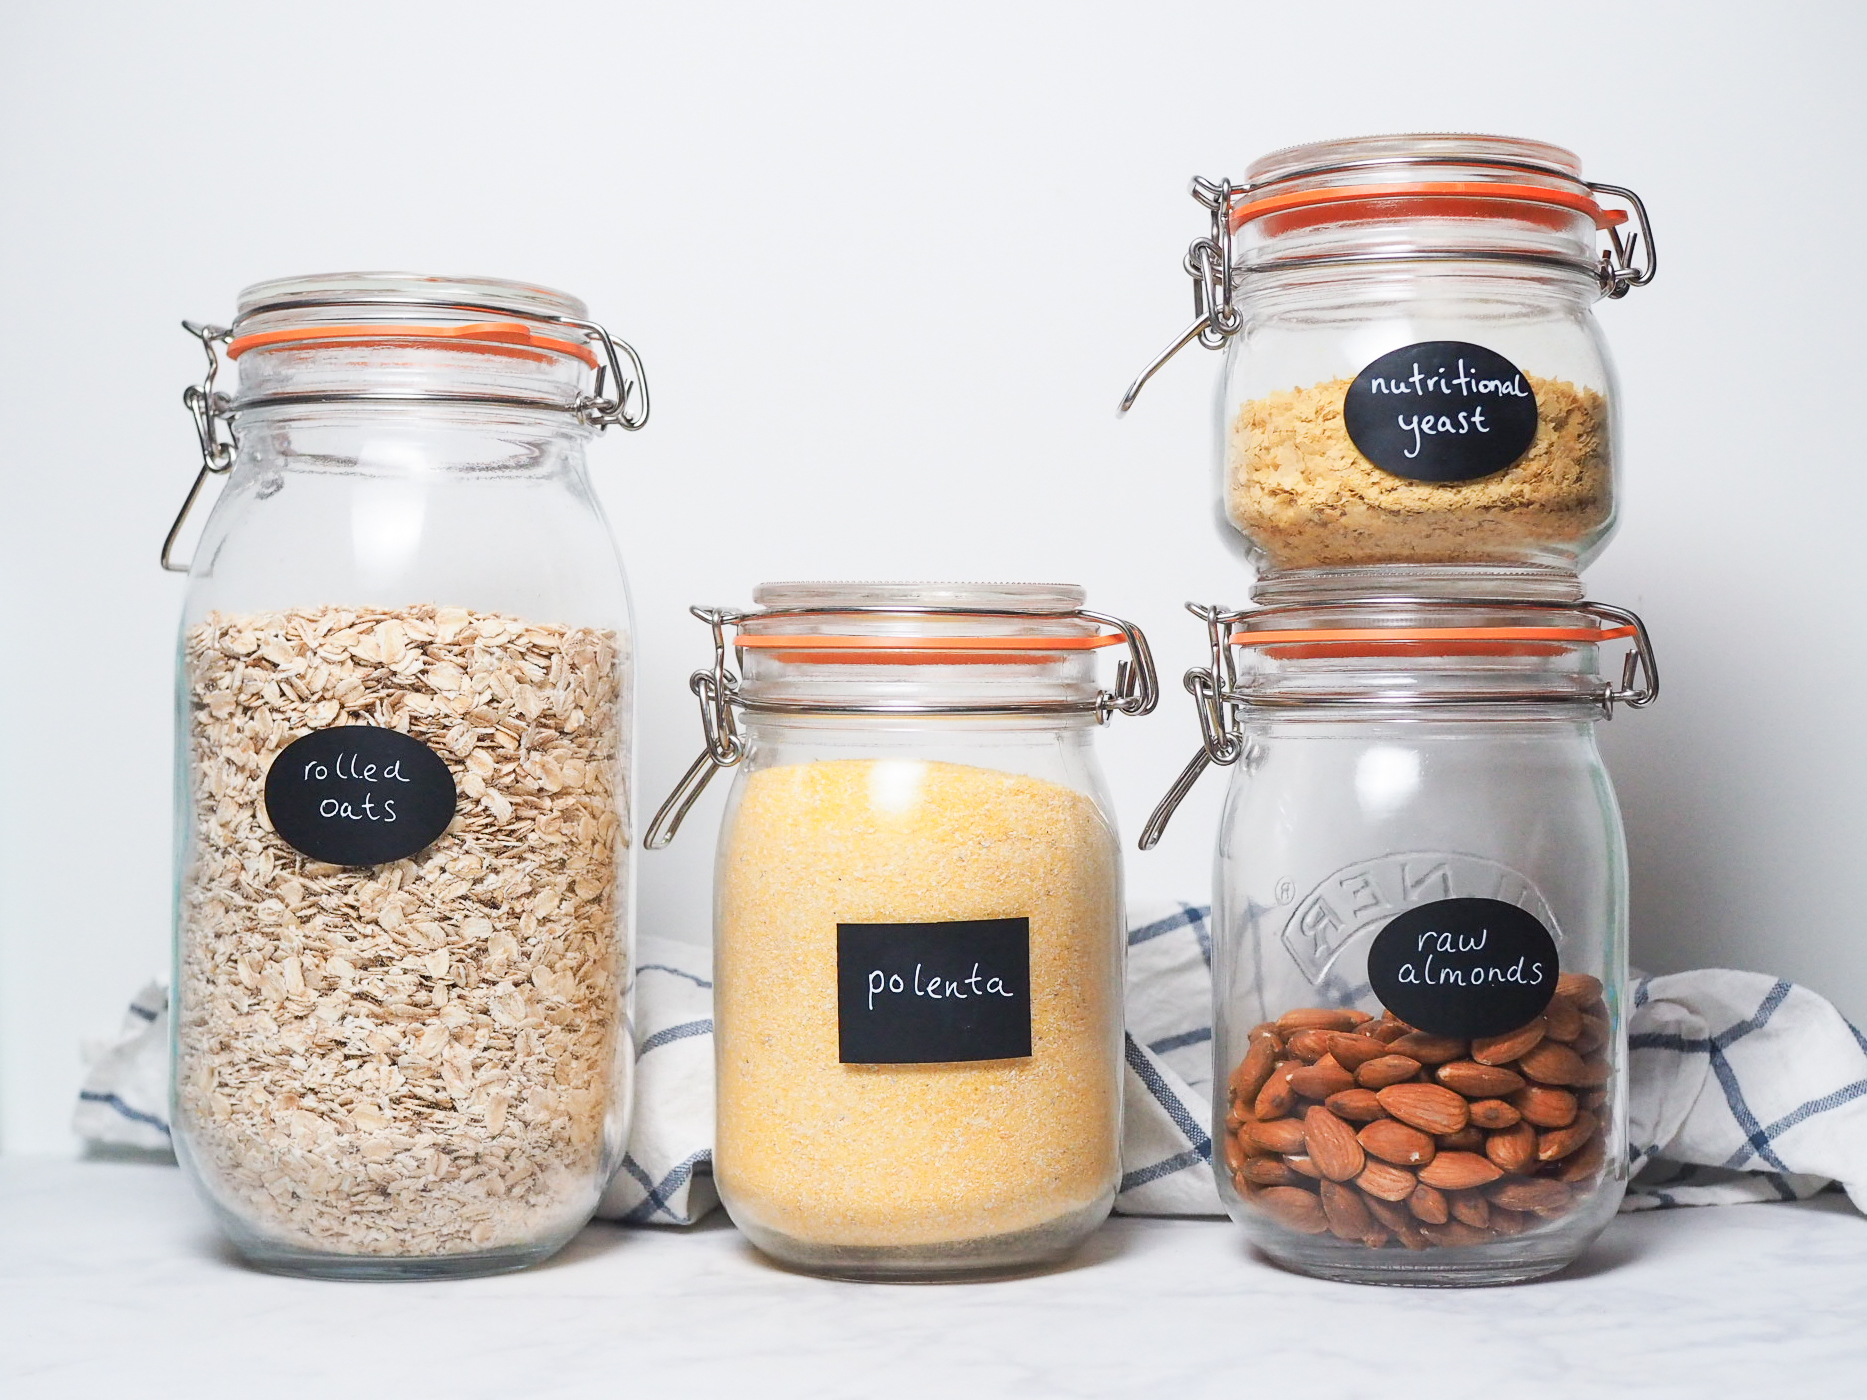
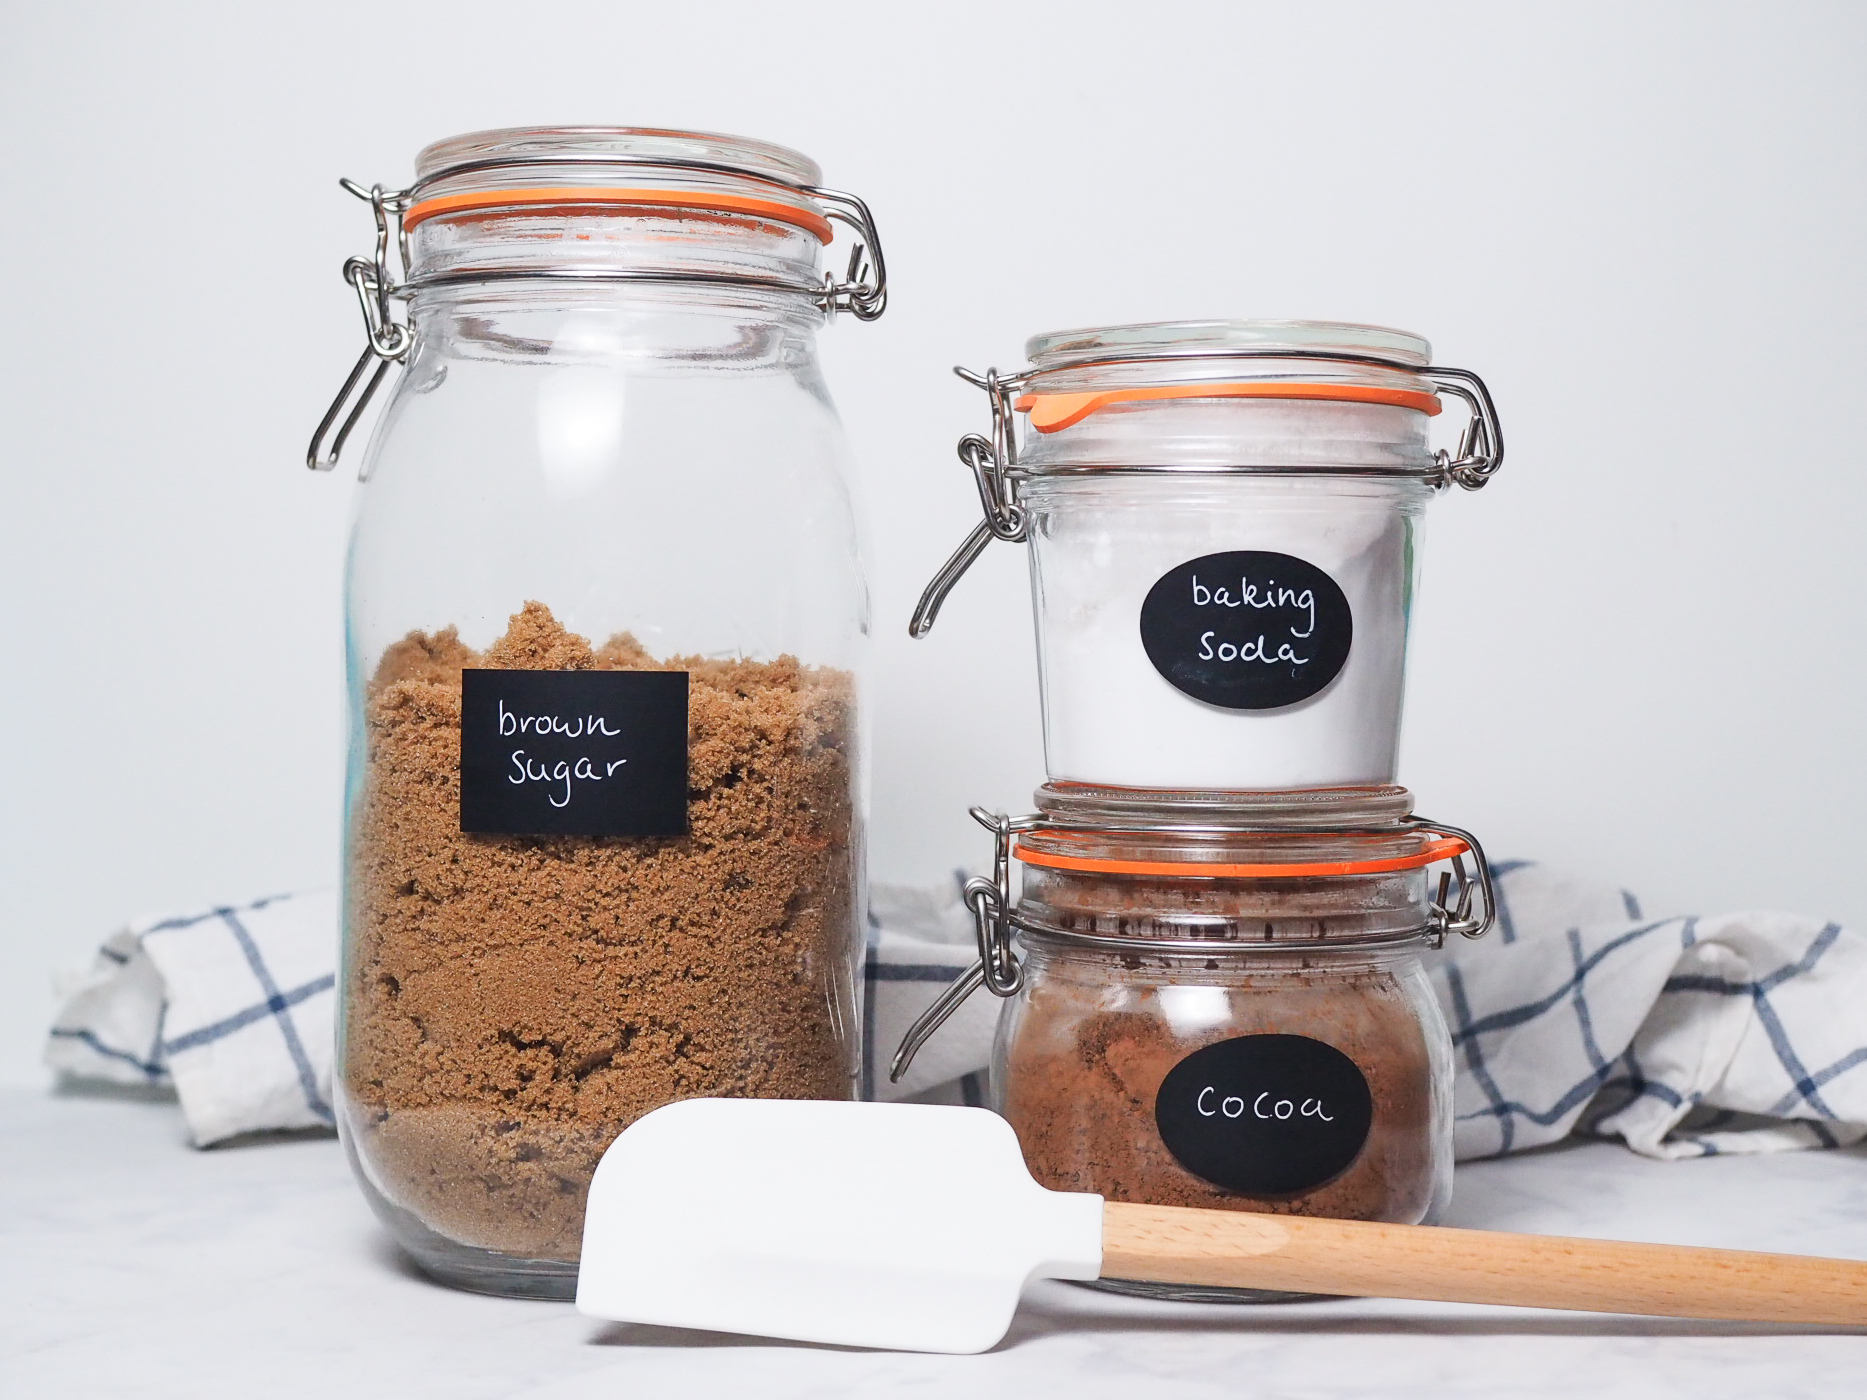
Kilner make a great range of jars, varying in size and shape to suit all kinds of needs (not just food!) I love using the 0.125L Clip Top Jars ($12.50AUD) for my herbs and spices while the 0.35L Clip Top Jars ($12.95AUD) are perf for baking bits like baking soda. Storing classic dry goods like beans, nutritional yeast and nuts are best stored in either the 0.5L Clip Top Jars ($13.95AUD), 1L Clip Top Jars ($14.95AUD) or the 1.5L Clip Top Jars ($18.95). When it comes to the stuff that needs bigger volumes, the 2L Clip Top Jars ($16.95AUD) are great for pasta and when it’s time to bring out the big guns, pop your flours in the mammoth 3L Clip Top Jars ($26.95AUD).
Step 3. Label it Right
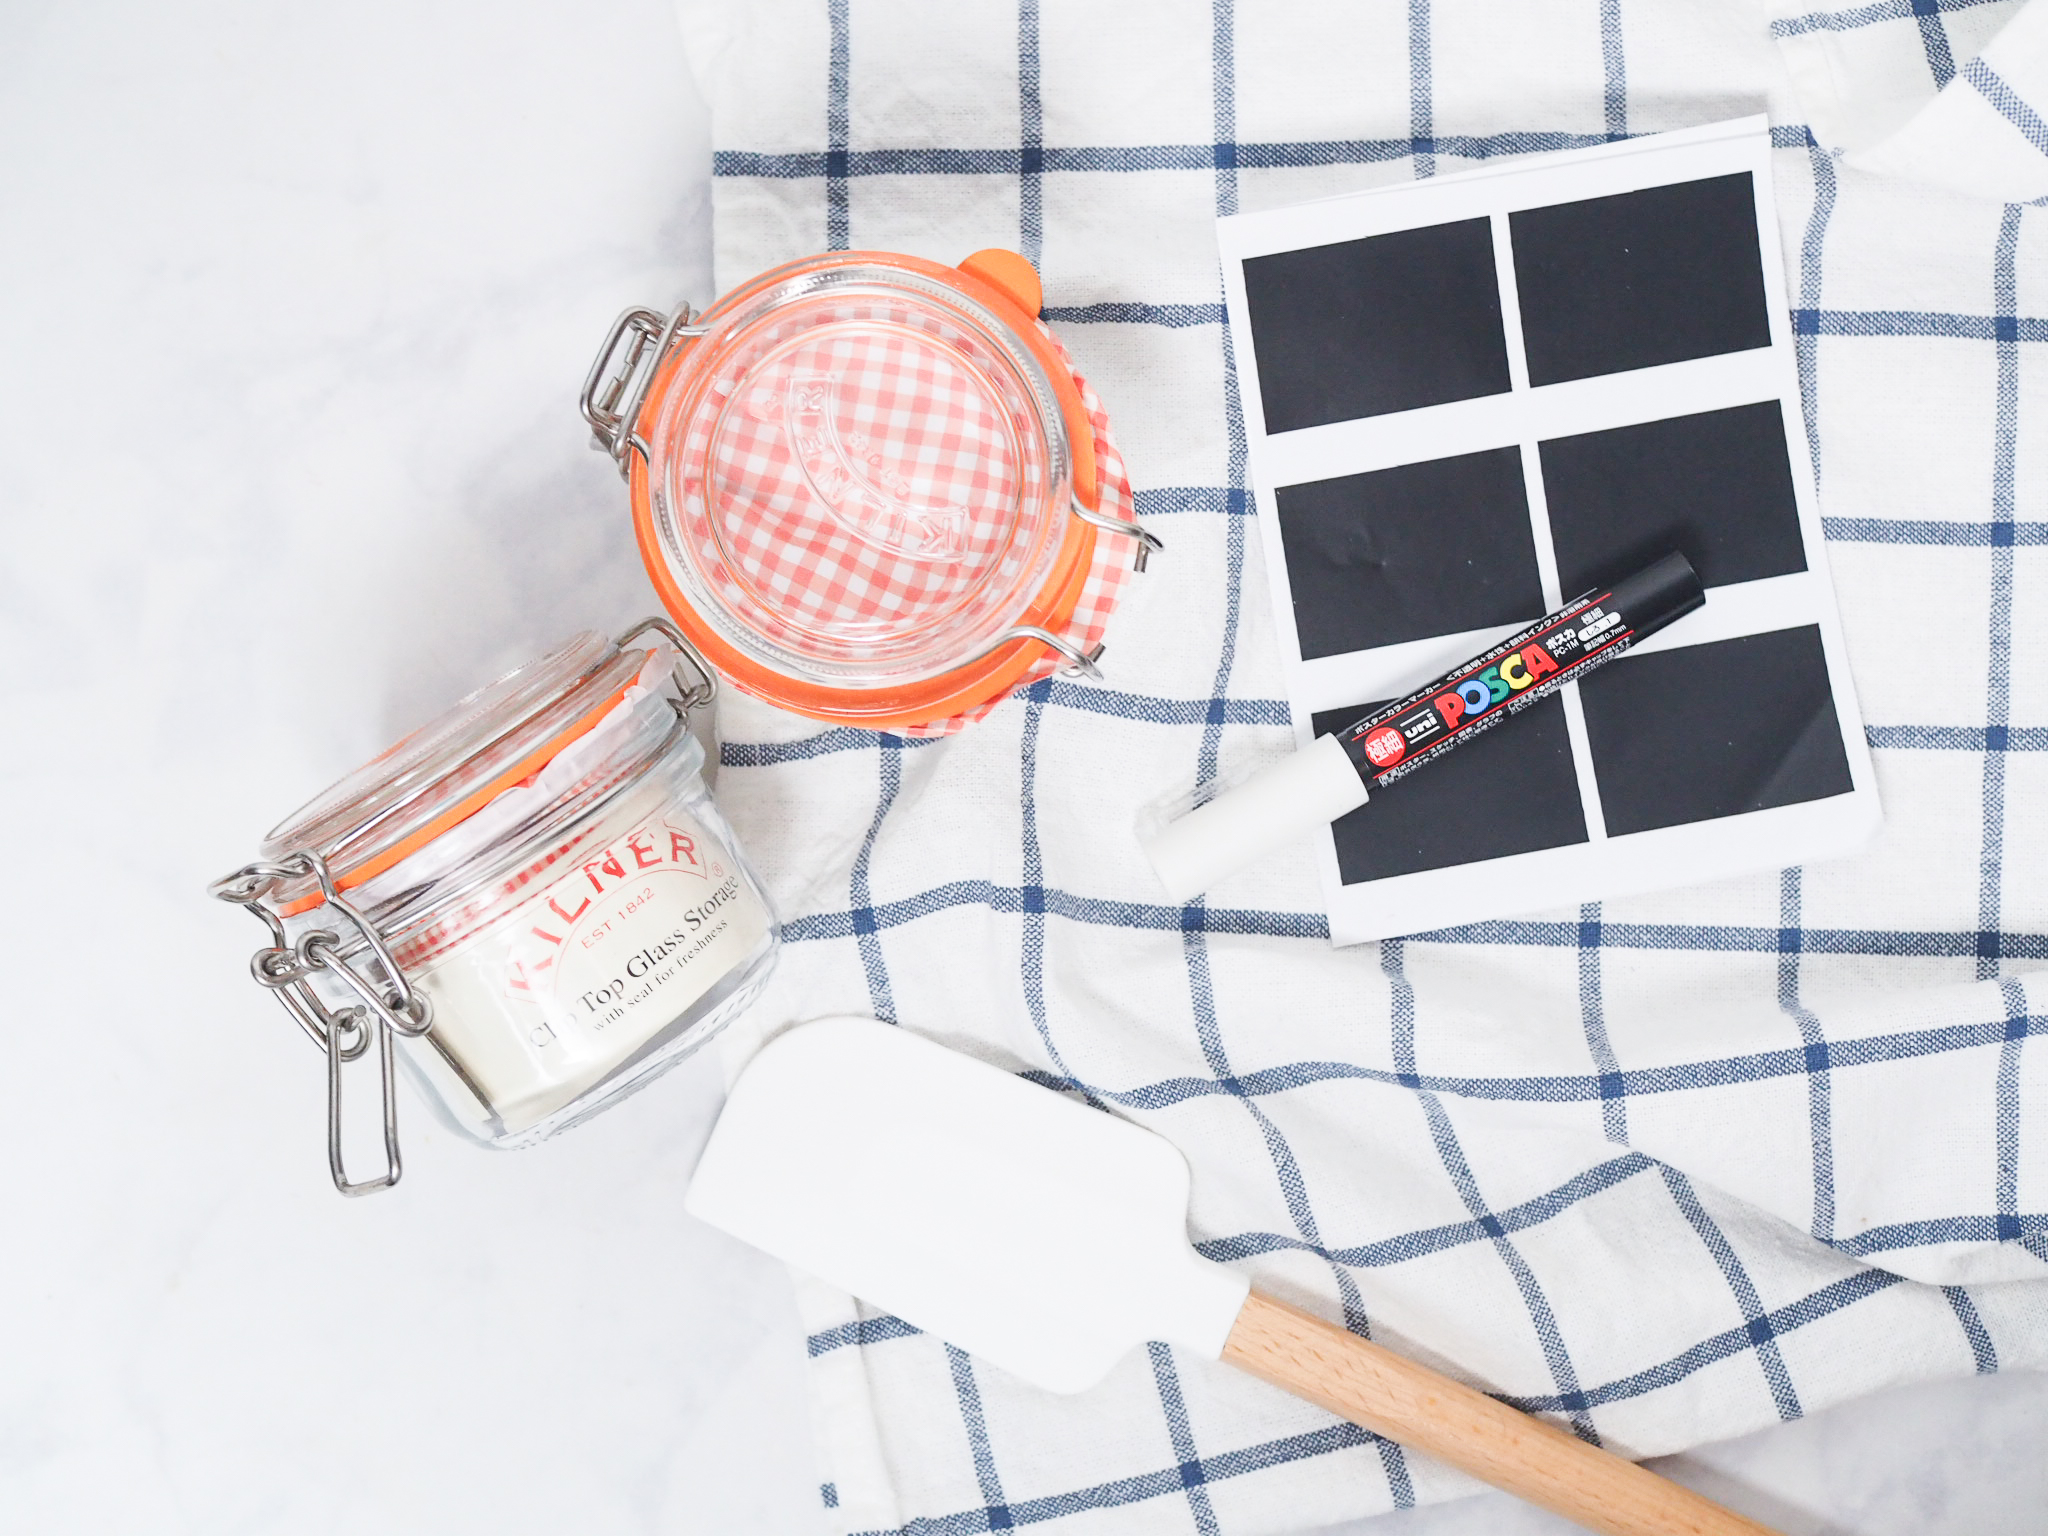
There are a bunch of creative ways to label your jars but the key is to keep it consistent. Whether you’re writing directly on the jar with a paint pen, using a label maker, swing tags or using chalkboard stickers, if you keep a consistent theme going, everything is going to look neat and tidy.
No matter how you’re labelling, be sure to allow room to be flexible so that you can mix and match your jars to accomodate your needs.
Step 4. Everything In Its Place
Now that your jars are full and labelled to perfection, it’s time to figure out where to put everything! If you’re dealing with a smaller space, the key is to keep the stuff you use often within reach, while popping the stuff you only use occasionally out of the way. The dope thing about your jars looking awesome is that you can make a real statement out of your pantry by popping some of your jars on an open shelf (that’s what I like to do with my daily essentials!)
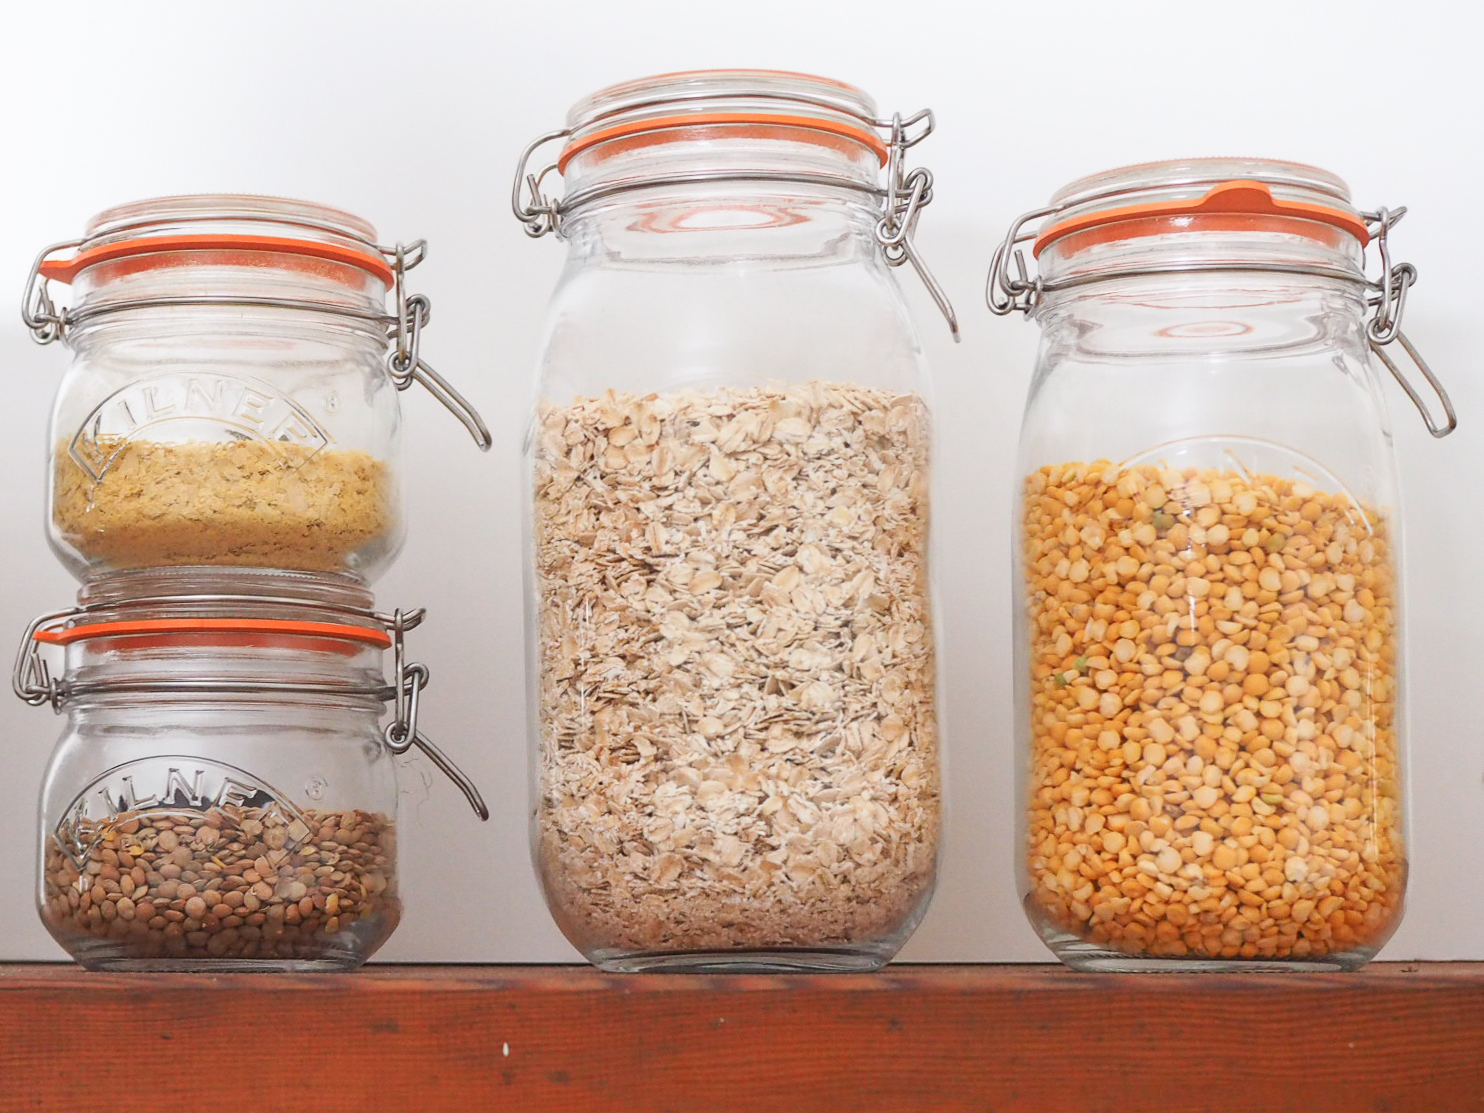
And there you have it! With some good quality Kilner jars, a few labelling bits and a spare afternoon, you can transform your disorganised pantry into an Insta-worthy dream!